COOKING TIPS
QUICK TIPS
- Carbon monoxide and carbon dioxide are given off during combustion, so never barbecue indoors as these odourless, toxic fumes may accumulate and cause death.
- Whenever barbecuing, use tongs to turn the meat. A fork should never be used as it will punch holes in the meat and allow the natural juices to escape, causing the meat to lose flavour and become chewy.
- When grilling meats, it is usually best to turn the meat only once. When grilling meat to a medium or greater doneness, use the lid to assist in cooking. This will decrease the cooking time by applying heat to all sides of the meat at once.
- A secret to tender, moist, tasty meat and fish is the cut you choose. The best cut for grilling steaks is a full one-inch thick.
- Marinating quickly tenderizes meat and also adds additional flavour. Use roughly 1 to 2 cups of marinade for every 1 1/2 to 2 pounds of food. The marinade should completely surround the food. Cooked meat should never be returned to a cold marinade.
- Cook meat and fish thoroughly to 160° F. For taste, cook poultry to 180° F. Flesh should not be pink, and juices should run clear.
- Serve food from the grill on clean platter, not one that has raw, possibly contaminated juices on it.
- To avoid flare-ups and charred food, remove visible fat from meat.
- Marinate foods only in the refrigerator. Reserve a portion of the marinade, before raw meat is placed in it, for use later in basting or as a dip for cooked food.

BARBECUE
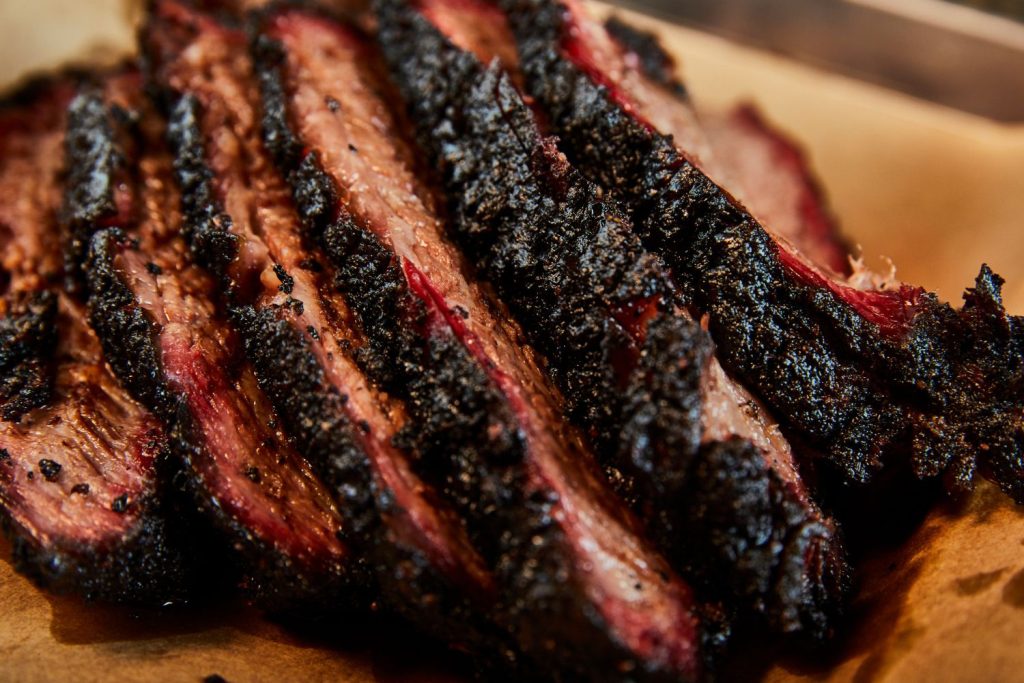
Purists everywhere agree that the only real barbecue is a Southern barbecue. This labour-intensive process involves cooking meats very slowly in the presence of smoky wood for 8-20 hours. Though most people aren’t willing to spend this much time for the sake of a Southern barbecue, the same great smoke taste can still be achieved in a fraction of the time by using dampened wood chips.
- Brush the grill with oil five minutes before using to prevent food from sticking.
- Cook very slowly and at a very low temperature. Cook at approximately 210 to 250 degrees. This will produce a juicier, more tender, and tastier result.
- Only use tongs or spatula to move or turn meats instead of a fork to minimize the loss of juices.
- Keep food from drying out during barbecuing by brushing it with oil.
- Use fruitwood, branches, or leaves that have been soaked well in water. This will keep them from burning and will create smoke that adds to the overall flavour of the food.
- Tie a bundle of herbs to a long handled wooden spoon and use as a brush for the marinade, oil, or sauce. Baste often. When you’re through basting add herbs to the fire for added flavour.
- Don’t use the basting sauce directly from the bottle and apply it to the meat. Pour it into a separate container before using. You can use the leftover basting sauce by putting it in a pan and boiling for several minutes before serving at the table.

GRILLING
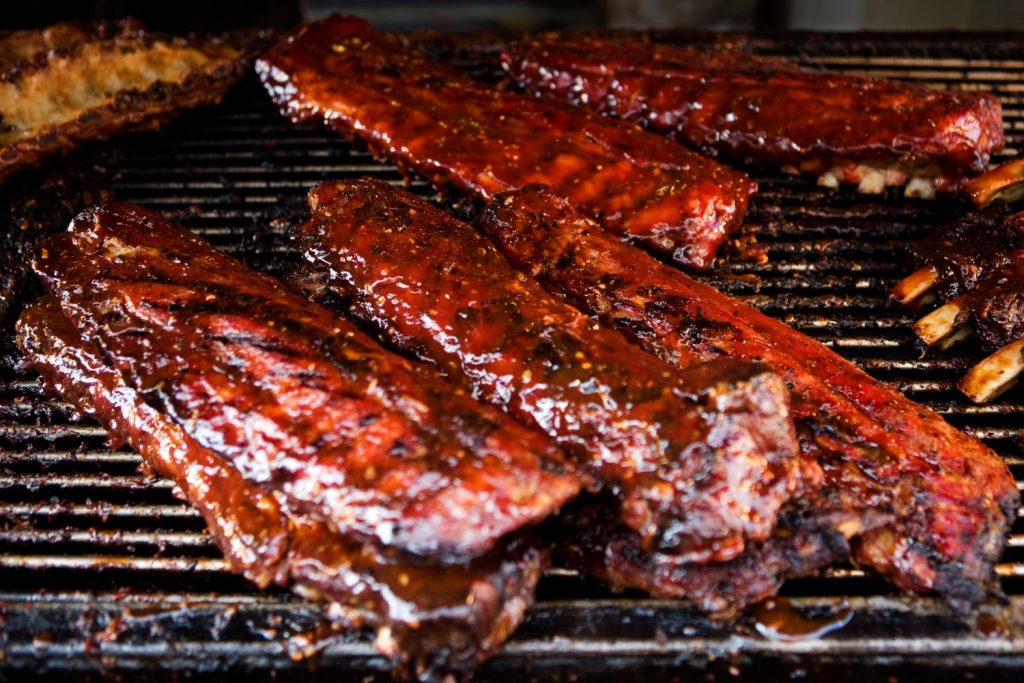
Unlike barbecuing, grilling uses a more direct heat, a medium to hot grill, and considerably less time. Different regions throughout the country in fact throughout the world will argue that their method of grilling is the only true form. Various types and cuts of meat plus regional sauces add to the attraction of the outdoor cooking experience. Most grilling takes less than 25 minutes cooking time. It’s best used for steaks, chops, kabobs, sausages, fish, game and vegetables to name a few. This method also allows you to sear in the juices for maximum flavour and moistness with grate marks from the grill that enhance the presentation.
- Brush the grill lightly with oil five minutes before grilling.
- Sear at a high, or medium high temperature to sear in the flavours. Reduce heat to medium to complete the cooking process.
- Keep food from drying out by brushing with oil prior to grilling and during grilling. Use a brush or bundled herbs for a brush for added flavour.
- Use tongs instead of a fork to retain most of the natural juices.
- Don’t apply sauces prior to grilling. You can lightly coat the meats with oil and dry seasonings (salt, pepper, dry rubs, etc.). Sauces have a greater tendency to burn especially sauces that contain a sweetener.
- Baste with sauces in last five to ten minutes depending on the overall cooking time. This will create a nice glaze; add plenty of flavour and most importantly will prevent burning.

ROASTING
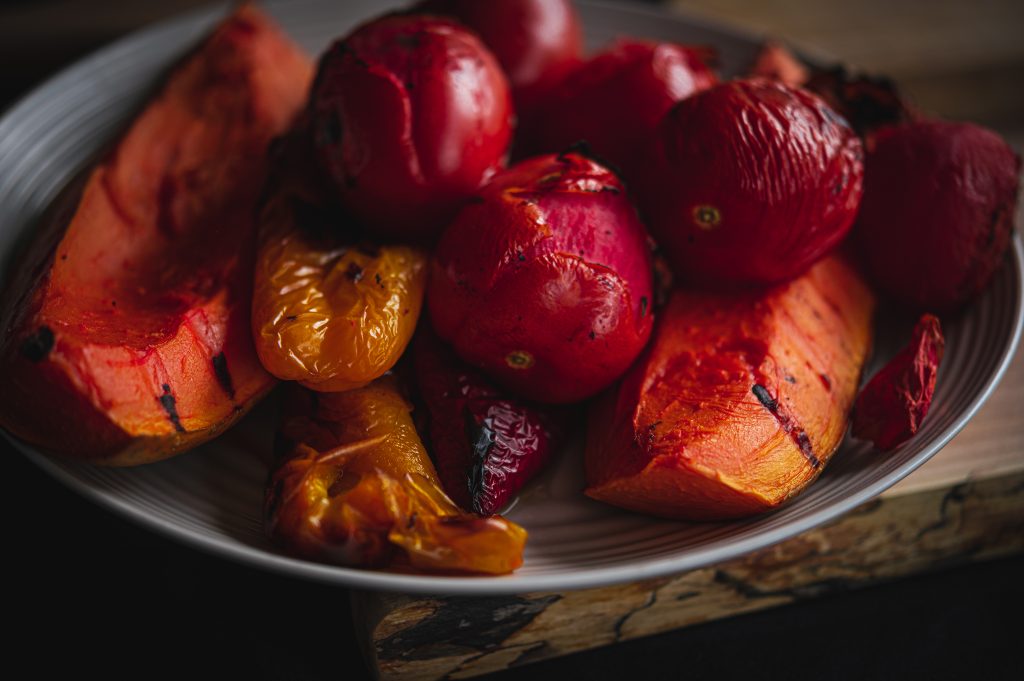
This form of cooking is a relatively simple art that can turn any meal into a feast. What sets this method of cooking apart from other styles, and what gives roasting its distinctive flavour, is the layer of fat that is under the skin of the meat, game, fowl, or fish being cooked. The high heat melts the fat and combines with the seasonings and marinades to form a shiny crust on the outer surface while sealing in the deep rich flavours. This works well with vegetables and fruits that surround the meat. Roasting gives them a flavourfully rich taste that’s caramelized and crispy on the outside yet tender-sweet on the inside.
- Use a high level heat to seal in the flavours and create a shiny caramelized crust.
- Uncover the roasting pan so the items become roasted rather than steamed.
- Use a shallow roasting pan to release any excess moisture preferably stainless steel.
- Basting should be limited during the roasting process.
- Turn vegetables and fruits over periodically to caramelize.
- Save the pan drippings and juice for deglazing for a delicious gravy, sauce or stock for soups.
- The dripping, bones and deglazed liquids should be frozen and kept for future use if not used as above.
- Don’t over cook the meat as it will become dry and lose tenderness.
- For easy basting use a bulb shaped baster.
- Timing and temperature are crucial elements, when roasting use an instant-read thermometer, you’ll find it superior to most others.

ROTISSERIE
( *** NOTE : OUR ROTISSERIE MOTORS ARE RATED FOR 12 LBS. MAXIMUM )
Rotisserie, also known as spit-roasting, is a style of roasting where meat is skewered on a spit – a long, solid rod used to hold food while it is being cooked over a fire in a fireplace or over a campfire, or roasted on a grill. This is a great option for Tacos or Donairs.
Loading and Balancing the meat:
- Take off the rotisserie kit (spit rod & forks assembly) from the grill.
- Loosen and slide the left fork off of the spit rod
- Load the meat or poultry onto the spit rod; center the meat as much as possible. Do not exceed 12 lbs.
- Re-install the left fork, then slide the two forks into the meat to secure.
- Center forks and meat on the spit rod, then tighten down the fork wing nuts.
- If the meat has any loose portions, wrap the meat with butcher’s string (never use nylon or plastic)
- Re-install the rotisserie kit into your grill, ensuring that the pointed end is fitted into the motor.
- Ensure the meat is at least two inches away from the infrared burner and any excess fat is removed. Fat is very flammable and should be a safe distance away from the burner for best results.
- Balance the meat by rotating the cut so that heaviest side is facing downwards. Next, position the counter balance so that it faces upwards. Secure in place by tightening the counter balance wing nut.
- Check the rotisserie function to ensure that the spit is rotating freely. It may be necessary to adjust the counter balance weight in or out, to achieve a smooth rotation.
Tips for ROTISSERIE cooking:
- Place a drip pan on top of the upper flavor shields and position the pan directly beneath the food on the spit rod. Depending on the flavor you desire, place liquid in the pan such as, water, juices or wine, chop up onions or add garlic, As the juices fall from the meat they will mix with the liquid and evaporate directly into the meat, this removes the need for manual basting as this is a self-basting system.
- Do not let the drip tray dry out.
- Season meat or poultry as desired, then light the rotisserie burner (refer to instructions in this manual).
- Always use a meat thermometer to determine how well the meat is cooked. Insert the thermometer into the center of the meat. Do not allow the thermometer to touch a bone as this will not give an accurate reading on the meat thermometer. When checking poultry, the best location to insert the thermometer is in the center of the thigh muscle, next to the body.
- Close lid while cooking.


